
How to Use a Tarp to Make a Shade Canopy
May 24th 2022
How To Make A Shade Canopy With A Tarp
There's no need to head indoors to escape too much sunshine when all you need is overhead shade. According to the pros at Canopies and Tarps, all you need is an inexpensive tarp, a few tools and simple-to-find supplies to create your own shade canopy for your home or sunny weekend getaway.
Create a DIY outdoor canopy for backyard entertaining or a sturdy tarp shade for your car or a campsite. Use a breezy mesh tarp that will provide up to 75 percent sun protection while still allowing cool breezes to flow through your shade canopy.
Choose a heavy-duty poly tarp with UV protection and 100% waterproof protection to protect your guests, vehicles or equipment from sun and downpours. If you're on a very tight budget, economy tarps cost just a few dollars at CanopiesAndTarps.com.
Whether you're looking for a long-term shelter for guests in your backyard, a temporary shade at a campsite or a permanent place to protect a vehicle or other possessions, a simple tarp, a few other supplies and a little labor are all you need.
Besides providing shade, a good canopy can protect you, your friends, family and possessions from rain and debris. Read on to learn how to use a tarp to make a shade canopy.
First, you'll need to select a tarp, of course. Look for a high-quality tarp that will resist tears and stand up to the sun's damaging UV rays and whatever else Mother Nature may decide to dish out. Many people like to use standard blue tarps or reflective silver tarps. Whichever type you choose, make sure to get a tarp with grommets so you can tie it down easily and securely.
Why Size Matters

The size you'll need will depend on the area you want to protect, of course, as well as what you want to keep under your canopy. A Mini Cooper or Smart Car, for instance, wouldn't require nearly as large a tarp as a Chevy Tahoe or a Ford Super Duty F250 pickup truck. Blue tarps generally are available in sizes ranging from 5 ft. x 7 ft. to 30 ft. x 40 ft. It's easy to find silver tarps in sizes running from 8 ft. x 10 ft. to 20 ft. x 30 ft. Custom sizes might be available, too.
You'll also need the help of a friend or two to create your shady refuge. For the corners of your shade tarp, use four tent poles. Sizes of 7 ft. or 8 ft. should work nicely. A center tent pole about 8 ft. to 10 ft. tall will be necessary, as well as about 40 ft. of nylon or polyethylene rope. Finally, assemble some tent stakes for attaching your tarp shade and poles securely to the ground, so you don't have to worry about wind.
Erecting your tent is simple. Start by selecting the place where you want it to stand, preferably on a flat, level and clean area. When you've found your spot, remove all debris. Then, with the tarp lying on the ground, place a pole at each corner. Attach each pole firmly to a grommet with a piece of rope.
Lift the Poles
With assistance from your helpers, lift the poles to a standing position, with the tarp forming a roof. Attach a rope to the top of one of the corner poles. Run the rope away from the tarp, attach it to one of your tent stakes, and hammer the stake into the ground. Do the same with the other three corner poles.
Now you're ready to install your center pole, which will provide extra stability, strength and shape for your canopy. Push this extra tent pole as close to the center of the tarp as possible, and position it to get the height you want for your sun shade tarp. Then, work the other end of the pole into the ground as deep as you can get it for the best support and the right height for your canopy with poles.
Finally, walk around your tarp shade shelter and adjust the tarp as necessary. You want it to be as smooth and taut as possible. This will help ensure that rain and debris run off it. It will help your shelter withstand wind gusts, too.
You're now ready to use your tarp shade canopy. You can keep it simple, straightforward and unadorned as a shelter for camping or for your vehicles and possessions at home.
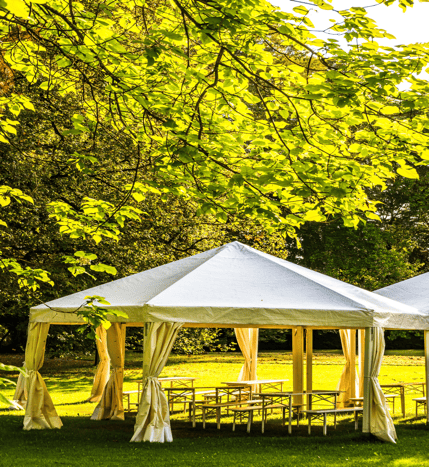
Some folks like to decorate their shade shelters inside and out as a place to entertain family and friends while enjoying an outdoor lifestyle. Whatever you choose, you'll enjoy cool protection from the sun.
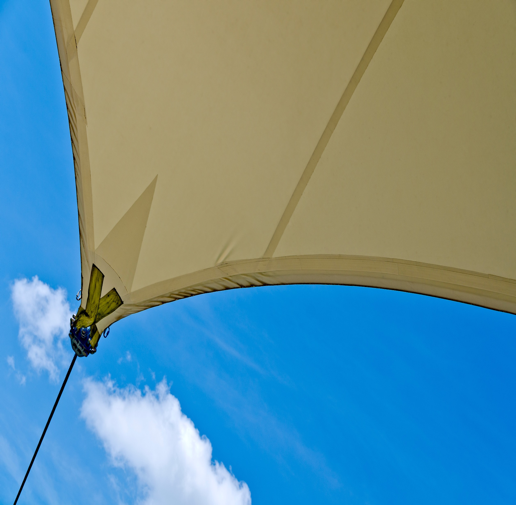
The 'Party Sail' Shade Tarp Option
The 'party sail' option is another popular use of tarps as shade canopies. At Canopies and Tarps, you can purchase a party sail shade tarp complete with mounting hardware. They are called sails, because they are shaped like the sails on a sailboat.
Use one or several to create shade when attached to porches, trees, decks or light poles. They are open-air shade tarps that block 90% of harmful rays of the sun while allowing ample breezes. They are easy to set up and take down, making them favorites for taking along to the beach or inland vacation getaways.
For backyard shade solutions, shade tarps provide excellent sun protection while allowing airflow