
How to Properly Secure a Tarp on Your Roof for Storm Protection
Apr 22nd 2025
When the weather turns rough or your roof sustains damage, protecting your storefront isn't just about keeping things dry. Preserving your roof means protecting your livelihood. Water intrusion doesn't take long to ruin inventory, fry electrical components or turn a manageable repair into a major insurance headache. That's why you should keep one or more heavy-duty tarps in storage. Tarps are one of the fastest and most effective temporary fixes you can make to shield your business from the elements.
A properly secured tarp buys you time to fix the roof. Whether you're waiting on a roofer, dealing with an insurance claim or trying to avoid downtime during a busy season, a tarp can help you stay in control of the situation. And the best part? With the right tools and a little know-how, you can get it done yourself and do it right the first time.
Common Roof Tarp Scenarios
You don't need to wait for a disaster to think about roof protection. There are plenty of situations where putting a tarp on your store's roof is smart business:
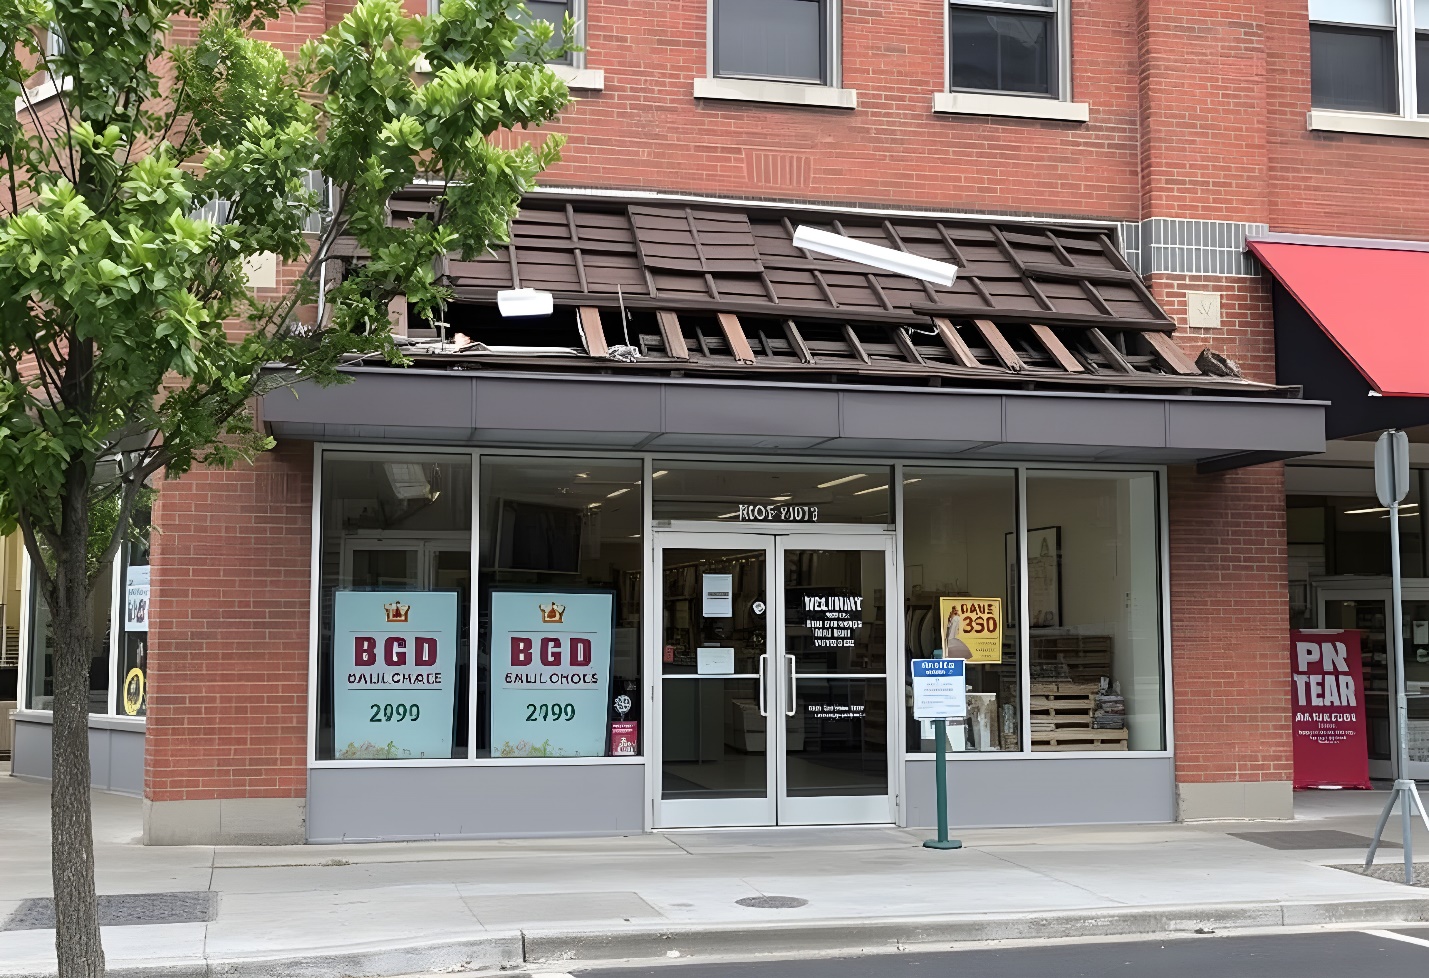
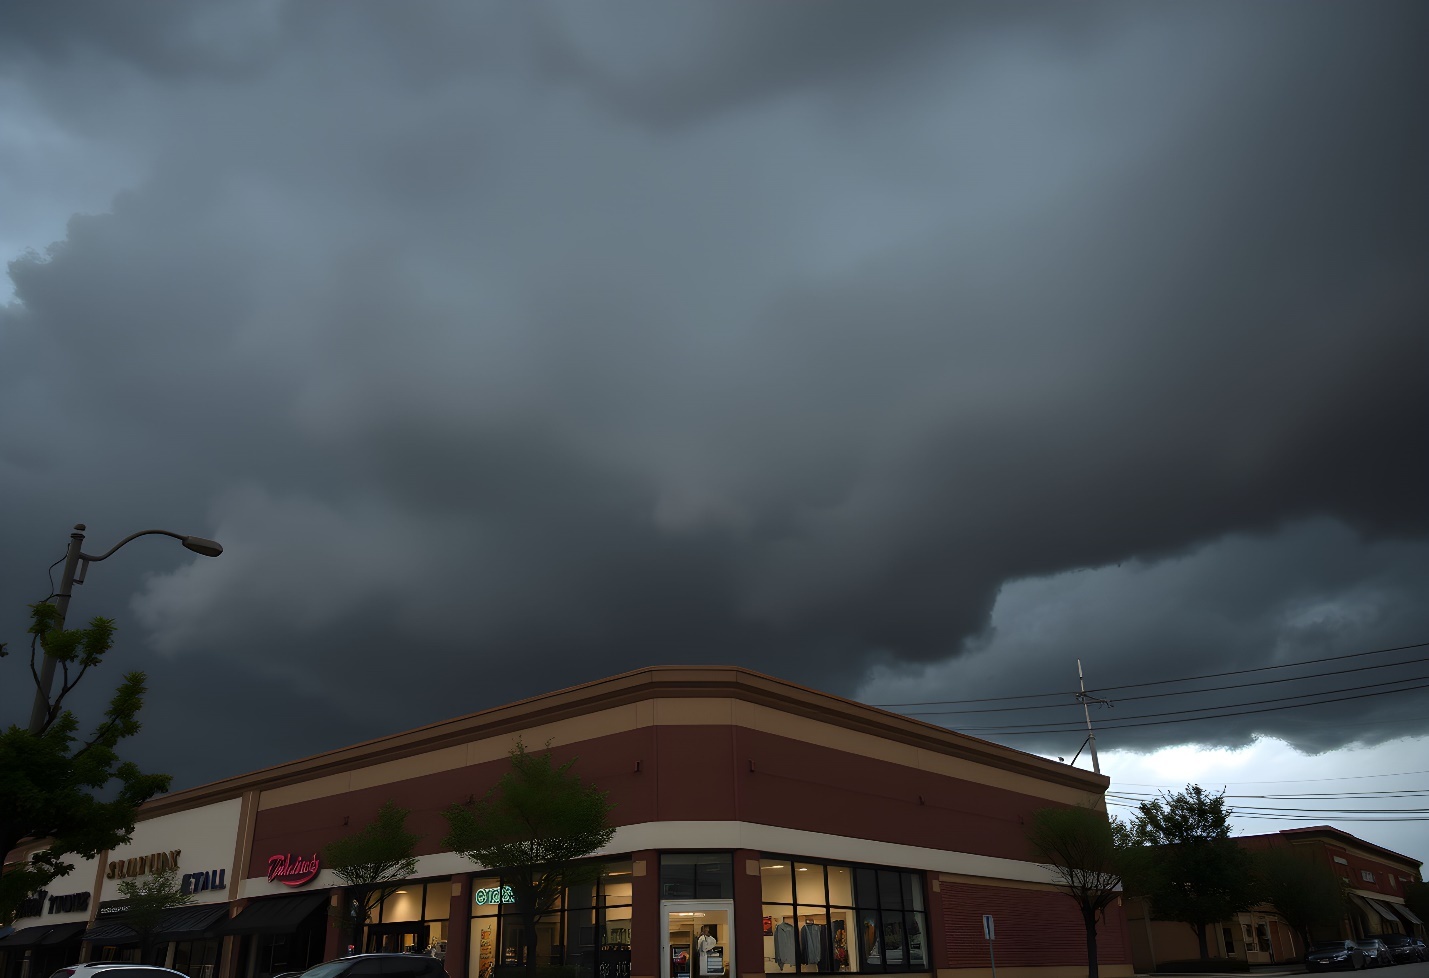
- Storm or Hurricane Damage. High winds can lift shingles, tear flashing or send debris crashing through your roof. Placing a tarp over the damage keeps rain out of the interior as you wait for permanent roof repair.
- Leaky Roofs During Rainy Season. Maybe the roof's aging or overdue for replacement. A tarp can hold the line while you budget for repairs.
- Delayed Repairs or Material Shortages. If you're stuck waiting on contractors or back ordered supplies, a well-secured tarp helps protect your investment in the meantime.
- Preventative Coverage Before a Major Storm. If your area is under threat from a big storm system, pre-tarping a vulnerable spot gives you a buffer against wind-driven rain.
Peace of Mind During Uncertain Weather
Owning a business is stressful enough without worrying about whether the next thunderstorm will soak your ceiling tiles or ruin your backroom inventory. Taking the time to tarp your store's roof (and doing it right) gives you peace of mind when the skies turn gray.
You'll rest easier knowing you've done everything in your power to protect your store. And when customers come through your doors and see that you're open and operational, even after a storm, it builds trust and shows them you're reliable, resilient and, most importantly, prepared.
Because when you run a business, staying one step ahead of the weather isn't just smart, it's all a part of staying in business.
Choosing the Right Tarp for the Job
Remember, cutting corners by using the wrong tarp for the scenario can cost you more than it saves. Alternatively, the right tarp can stand up to high winds, heavy rain and harsh sun while keeping your building dry and secure. So, before you climb that ladder, make sure you've got the right tarp.
Heavy-Duty vs. Standard Tarps: Know the Difference
If you're serious about protecting your store, go heavy-duty or don't go at all. Standard tarps (those lightweight blue ones you find in discount bins), might be fine for short-term backyard use, but they're no match for wind or rain on a rooftop. They tear easily, flap around in bad weather and degrade fast under UV exposure.
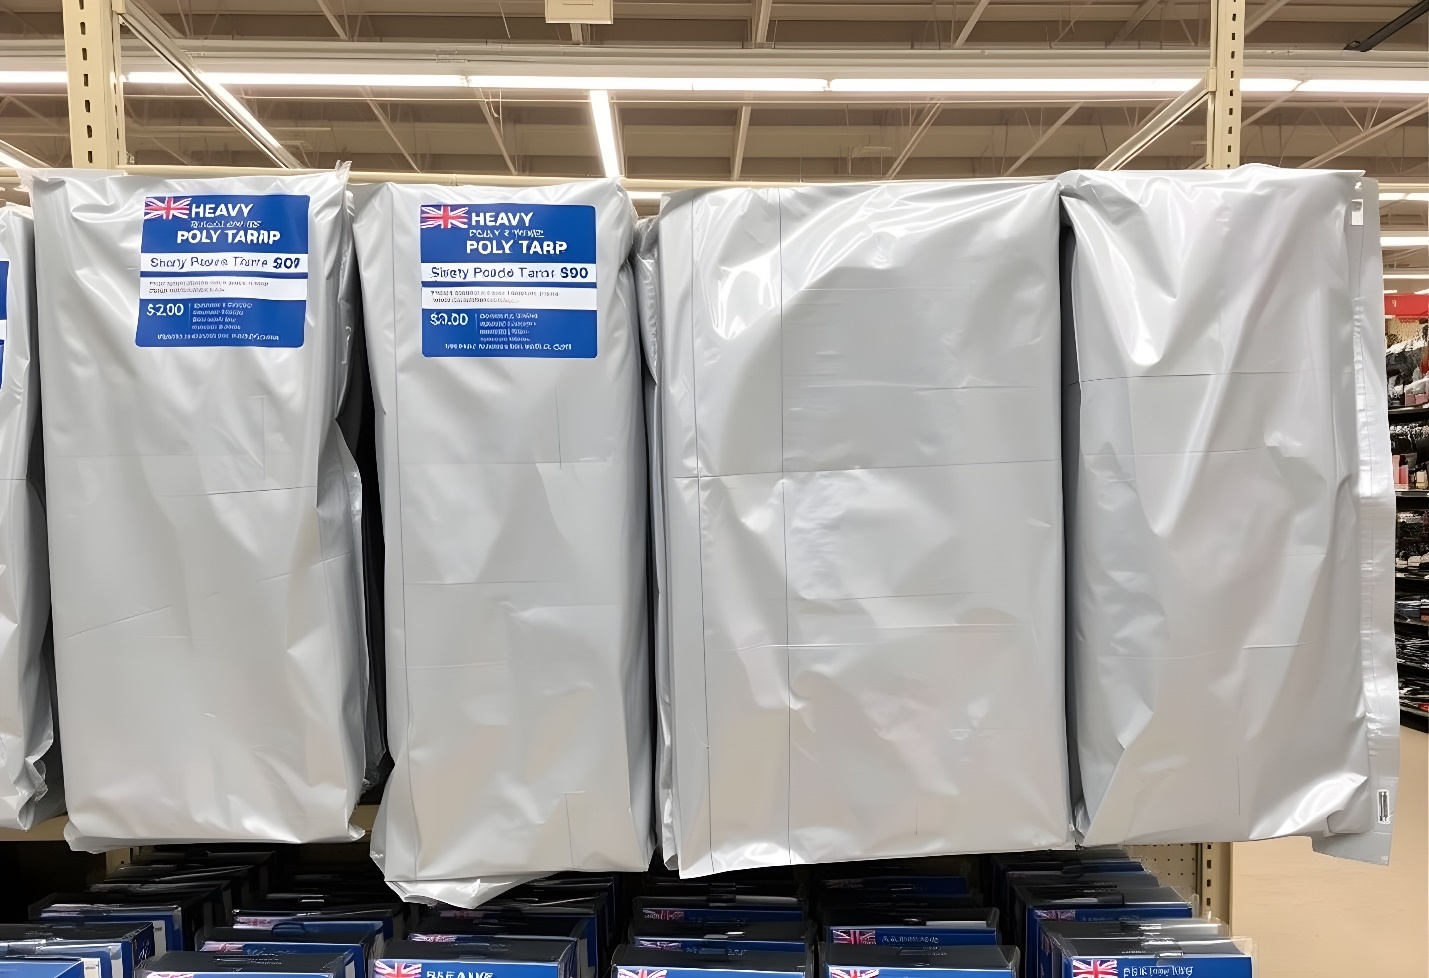
Heavy-duty tarps, on the other hand, are made from thick polyethylene or vinyl with high mil ratings (typically 10 mils and up). They're built for abuse, including reinforced corners, tough grommets and thick coating that resists water, wind and UV rays. When you're trying to keep the inside of your store dry, this type of sturdy tarp won't let you down.
Sizing Tips: Go Bigger Than the Damaged Area
Bigger is better when choosing tarp size. Ideally, you want plenty of overhang on all sides of the damaged area. This means that the overhang should be at least three feet in every direction; more if possible. This gives you enough room to secure the tarp to solid parts of the roof and create a proper runoff path for rain. If the tarp is too small, water will find its way underneath and defeat the purpose entirely.
If you're unsure of the exact size to get, measure the roof section or leak from the ground with a measuring tape and binoculars, then add extra footage as a buffer. You can always fold excess tarp under or trim it down, but you can't stretch it once it's up there.
Color Considerations: Silver, Black, Green and More
Color isn't just about looks. Tarp color can actually affect performance.
- Silver tarps reflect sunlight, which helps reduce heat buildup under the tarp. This color is ideal if you're trying to keep the interior cooler during hot weather.
- Black tarps are more discreet and absorb heat, which can help melt snow or ice faster during winter months. They also hide dirt well.
- Green or brown tarps blend in better with natural surroundings, which is useful if your store is in a more rural or landscaped area.
- White tarps allow some light to get through, but make sure they are made of heavy-duty materials.
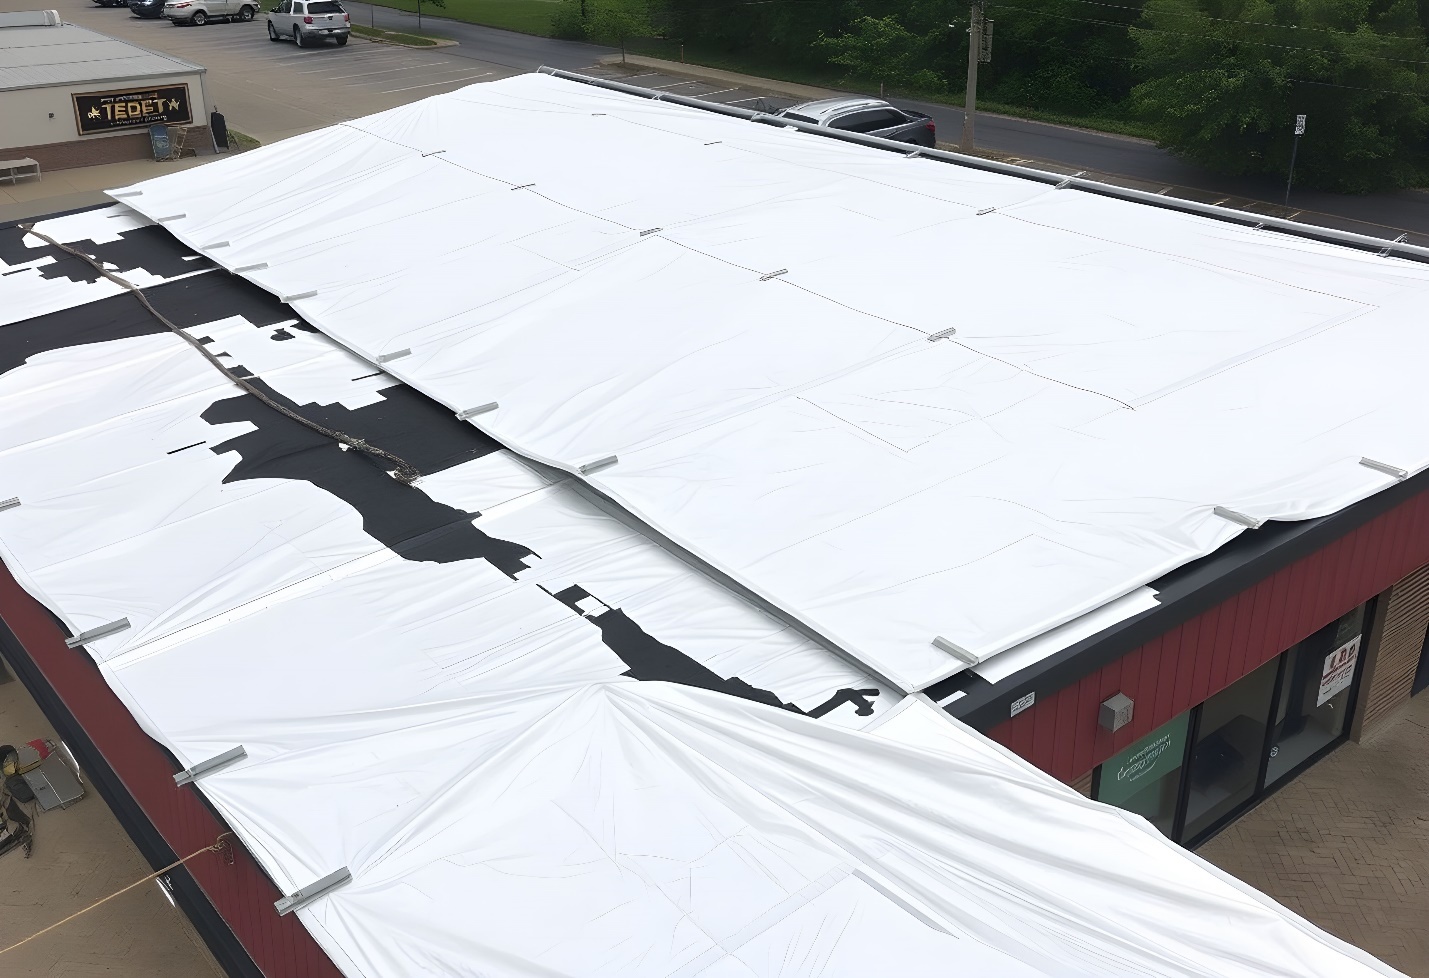
Step-by-Step: How to Secure a Tarp on a Store Roof
Step 1: Locate the leak or vulnerable area.
Step 2: Clear debris and dry the surface as best as possible.
Step 3: Lay the tarp over the roof peak to allow runoff.
Step 4: Use 2x4s to anchor the edges. Nail or screw through wood, not tarp.
Step 5: Secure the tarp's corners with rope or additional boards.
Step 6: Double-check for slack or gaps; tight and taut is key.
Once your tarp is in place, your job isn't over just yet. After heavy rain, high winds or even a cold snap, it's smart practice to continue to thoroughly inspect your tarp. This quick daily habit can save you from water damage, ruined inventory or an expensive clean-up.
Choose a heavy-duty store roof tarp now.